With the
new TEC 140 scope from the last post, I was also in need of a new mount. For astronomy applications, the beefy AP1200 I've had for a couple years works great. However, sometimes you don't need the heavy motorized tracking mount for terrestrial use - for taking pictures of distant objects or for quick-and-dirty low-power sky viewing... So I envisioned something simpler, that provided smooth motion that wasn't too expensive to sturdily support the 20 pound telescope for imaging or viewing - even something I could make myself to satisfy the cheapskate in me...

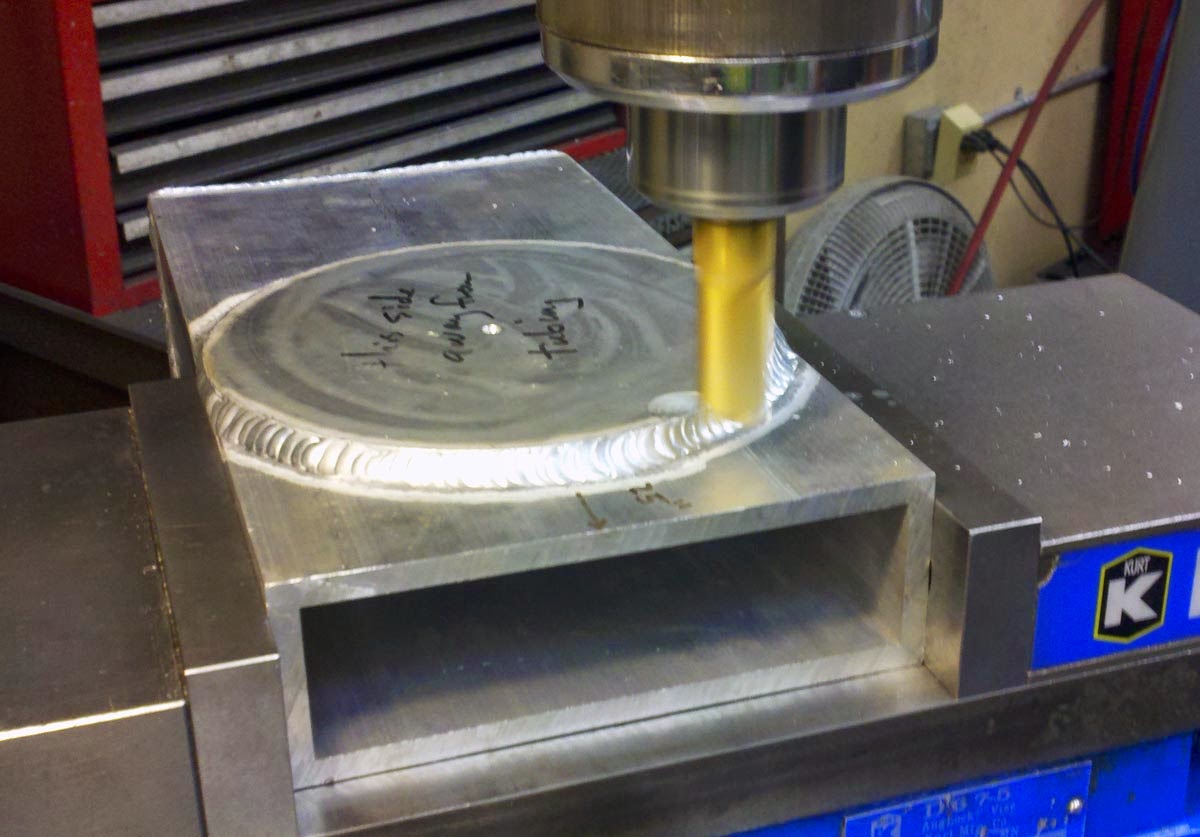
Initially I was thinking shafts, bearings and brakes, but gave those thoughts up early because of the complications of fabrication. Then I decided to upsize a mount I had for small scopes - a sheet of Teflon is pinched between 2 disks to provide smooth, buttery motion. In this case, I ordered some 2" by 6" aluminum tubing, with additional 6" disks for bearing surfaces. I also needed a dovetail adaptor plate to adapt the scope to the mount. The raw materials and adaptor are shown above. Aluminum was about $100, the dovetail plate was $130. My design had an L-bracket with disks welded to the tubing to act as bearing surfaces. At left, the rectangular tubing is in the horizontal band saw being cut off at a 45 degree angle. The cutoff piece rotated and welded back on provided the L-shape. I had a local welding shop (
A-1 Fabrication) weld the joint, the 2 disks and reinforcements. They did a great job and charged $75. The picture at right shows the bracket clamped into a mill to machine one of the disks flat (warped some in welding).
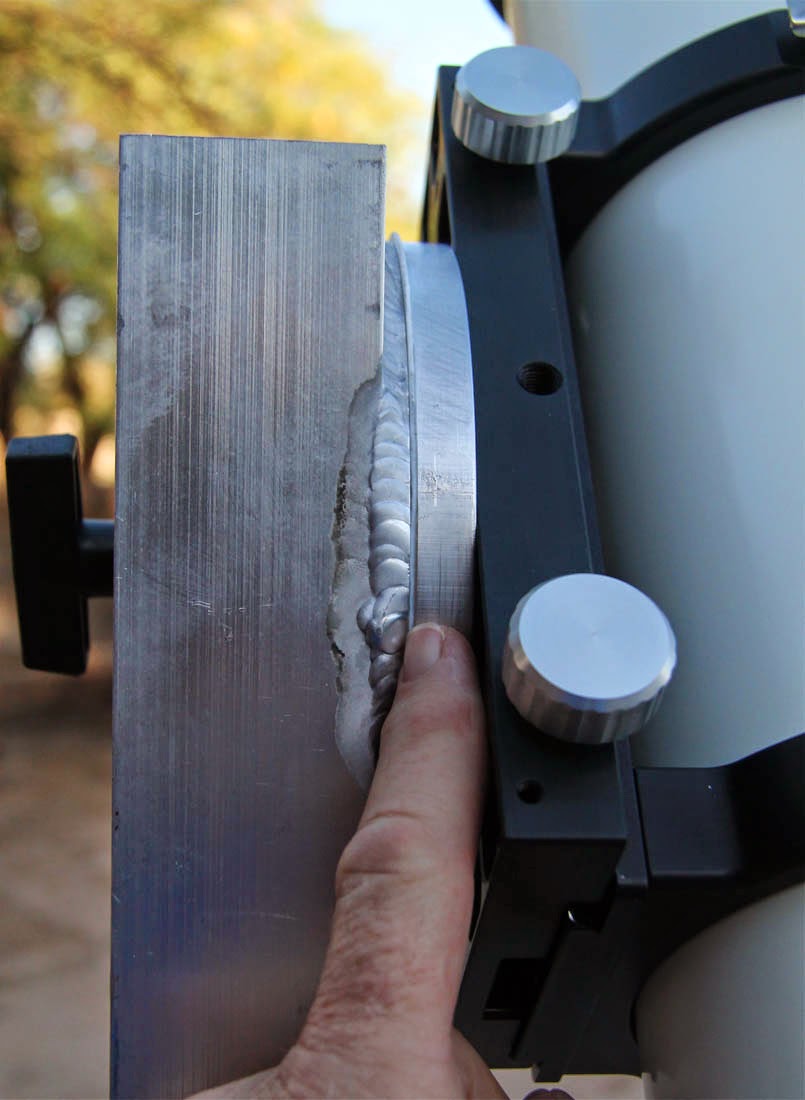
After machining both welded disks flat, I spent the better part of a weekend day in the lab drilling, tapping and assembling the mount. I already had a very sturdy Gitzo tripod, so machined an adaptor plate to mount it, then the 2 rotating plates that pinch a 1mm layer of Teflon to the welded plates on the L-bracket. At left is shown some of the excellent welding that Gary at A-1 did. The knob at center tightens the shoulder bolt, providing both smooth rotation and tension adjustment for the azimuth motion. There is an exact replica atop the L-Bracket for the elevation adjustment, shown at right, where I am pointing to the 1mm thick layer of Teflon between the disks.

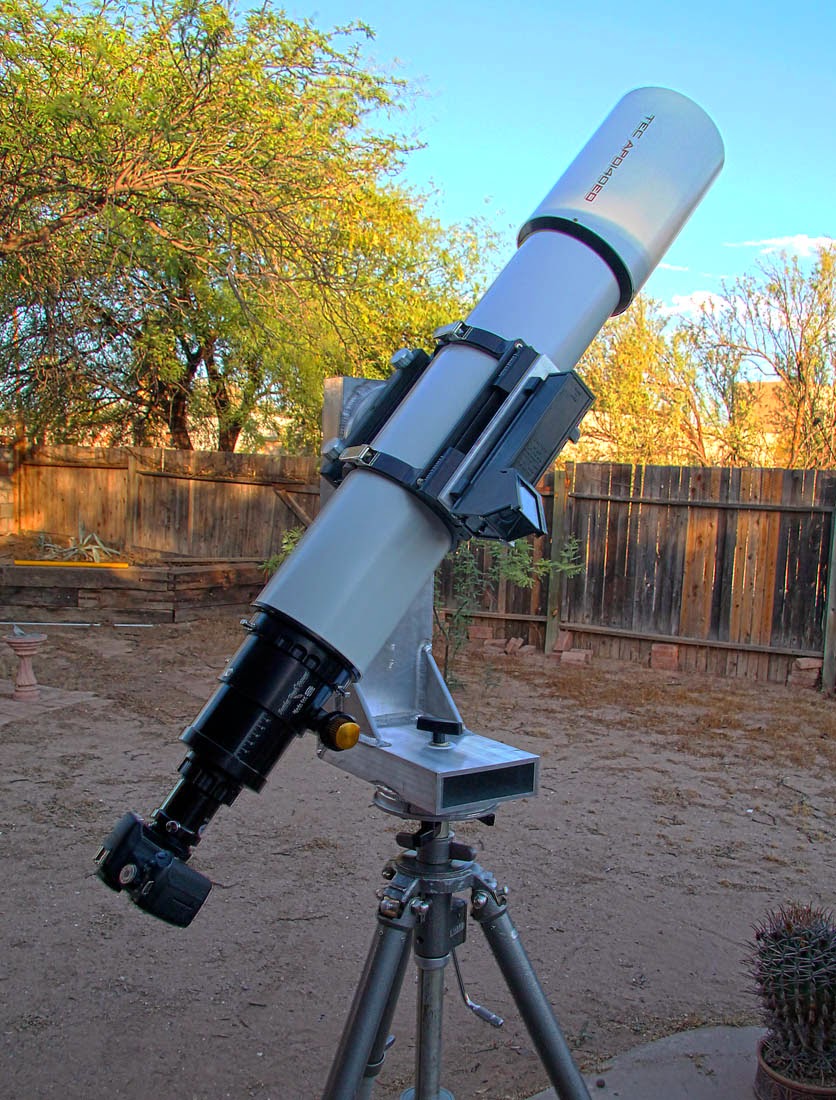
Here at left is shown the tube rings and dovetail plates that allow fastening the tube to the new mount, and also for accessories - here a Tele-rad used for a finder on the right hand side. The advantages of a mount like this for general use is that the 6" diameter plates with Teflon between provide a large bearing surface and the motion is very smooth. Once balanced, you can leave the clamp pretty loose or tighten it to the point it is locked solid, but for most applications you want smooth motion... While in this view you can see the weight is cantilevered off the vertical rectangular tube, it is centered almost exactly over the azimuth axis where it needs to be. The tubing has 1/4" walls and is pretty hefty - I'm thinking of attacking it with a hole saw to remove a lot of the weight (think Swiss cheese!), and perhaps anodize it in a bright color to make it eye-catching. The entire mount is finally seen at right. About the only disadvantage is that you can't move to the zenith, but as with all Dobsonian (alt-az) mounts, it is tough to get smooth motions at zenith, and I left the vertical arm short in favor of stability rather than leave it ungainly long for access to zenith...

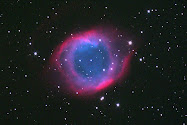
When trying it out for the first time tonight, looking for a suitable target, I saw a curved-bill thrasher down the alley, perhaps 200 feet away, and collected the image shown here at left. For now I'm planning on using it in its current form and see if there are other modifications needed. The only other expenses to date from above was $20 for the Teflon sheet and $10 for the knobs, for a total of $335, with some sweat equity thrown in. For that price it seems to perform pretty well, providing both good performance, and safely mounting the expensive optics. I'll post some updates as more images come in...


No comments:
Post a Comment